 After playing around for a while with Various Dipoles, and such I decided at the end of 2012 to invest in the Butternut HF9V+160m addon (Now owned by DX Engineering). I like to do things right the first time so decided to get the DX Engineering Tilt Base (Please See Below) as well as the DX Engineering Radial connector base for it. They are well worth the price! Two 50lbs bags of cement are holding this all up, pole is about 2 1/2 feet deep.
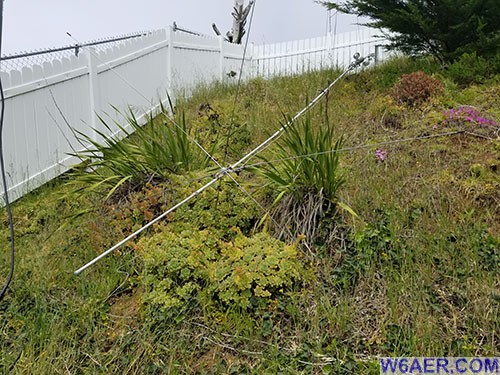
The Radials are a combination various home brew and purchased radial kits.About 60-80 or so home made. Now well over 120 which will more then do the job and adding more really will not help. The support wires you see in the bottom photo are available from local hardware stores or your favorite ham radio parts supplier. The hex beam in teh background is further then it looks, it is rather large so it is an optical illusion.
One of the connectors came loose on the original Coax cable after a few years so since I had to make repairs, ended up replacing the cable with a lower loss cable and at this time I also added a DX Engineering Balun (Not pictured here but see bottom photos). So, I figured I take a few photos and make some adjustments while I am at it for those curious about these units.
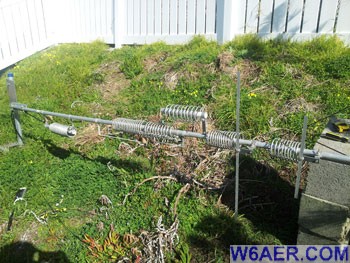
The unit includes the 160m add-on kit (Extra $150 or so) but it can only take 600W so I rely on my K6MM 160m Antenna for Transmit when I need to run more power. Note the 2 large capacitors near where I made the repairs. The Wire ties are just used as tension relief as well as to hold on part of the electrical tape and the mandatory coax seal. As you can see the location is ideal for great DX!
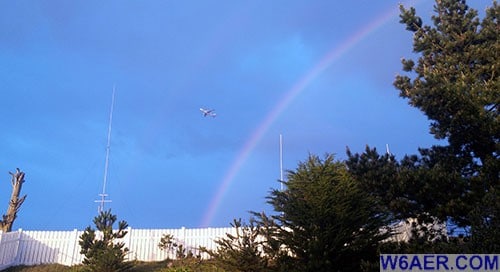
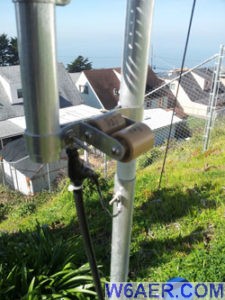 HF9V is barely visible on the top left next to the hexbeam, complemented by a loop for the low bands. (See Above) The Complete HF9V+160m Add-on with a rare San Francisco rainbow (in 2016, not current setup). We pretty much only have two seasons, rain and no rain. Generally there is no sun out around here when it rains. Note the airplane, we are very close to San Bruno, CA the home of the San Francisco International Airport (SFO). Lots of Scanner action!
One of the things that makes most difference is the number of radials. Well, if 4 is good, 16 is better...and so on. As you can see I took it to heart and used everything around the house as well as a set from DX Engineering and one from MFJ. Followed by 2 rools of 500ft cables (Yellow and White in the photo) and cut them to size. Everytime I add radials I notice a whole new level of DX opening up.
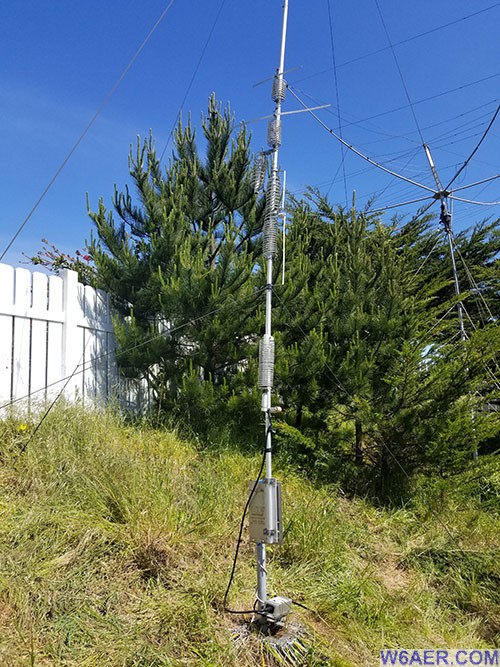
After Building John K6MM 106m Antenna, I got the idea that the Butternut HF9V may also benefit in some ways from a capacitance hat. I noticed that DX Engineering had an addon kit for another unit but I figured with some modifications I can make it work. So I did order one and using a couple of radiator clamps, conductive grease it turned out OK.
In case you are wondering, the black wrap you see is me protecting the screws from rust where the wire elements attach. I not only had to replace the screw over the years but the wire as well. I replaced it with a heavier gauge wire and used coax seal as well as electrical tape on top to keep moisture out. The brown grease you see is conductive anti corrosion grease.
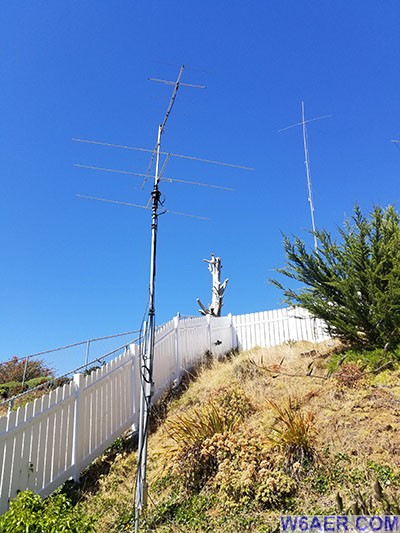
And Lastly here is the setup as of Early 2018 (See Below), in front you see the 6m and 2m setup. Note the DX Engineering Capacitance hat. Really seems to improve performance. I did have to readjust everything of course and some bands are not great or easy to tune but those are not the ones I was after so it all worked out well!
If you find something incorrect, have an update, or if there is something you would like to see added to the site, drop me a line here. I like to keep things as up-to-date and as accurate as possible. Thank you! - Lucas / W6AER


