If you have purchased a SteppIR antenna, then you have a controller. There are a few variations, this is the one I purchased for my vertical, with all the options.
Since the first thing I do is take things apart, I figured I might as well photograph it for other curious minds. So, this is not a review, rather a picture tour. I also included links to BETTER connectors then the ones included by SteppIR wich I ended up using.
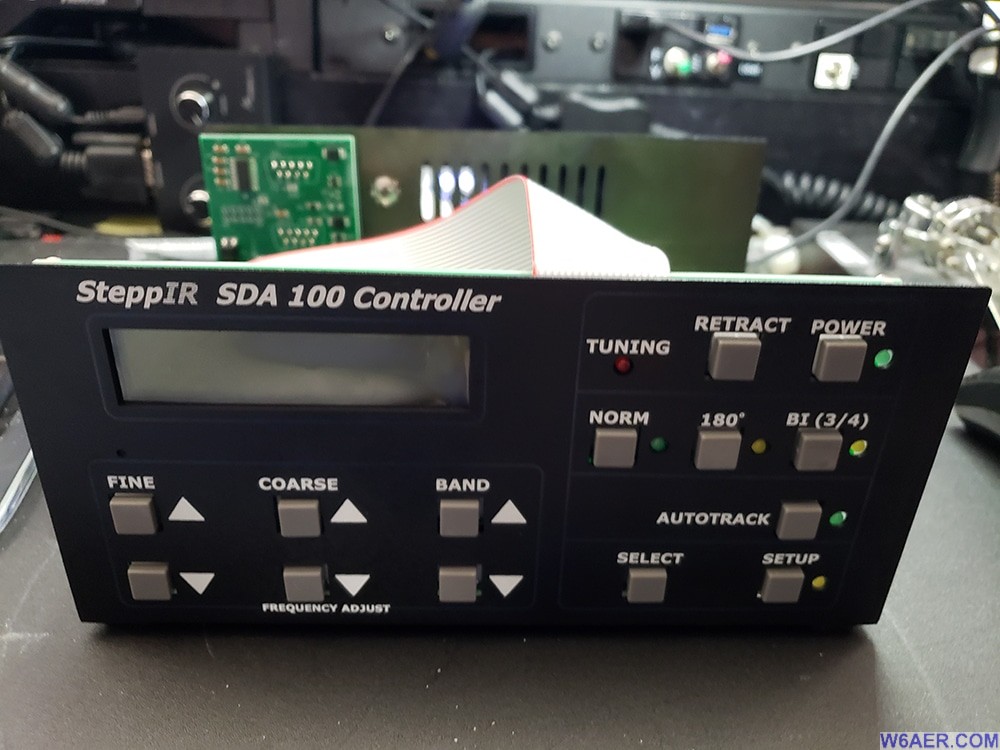
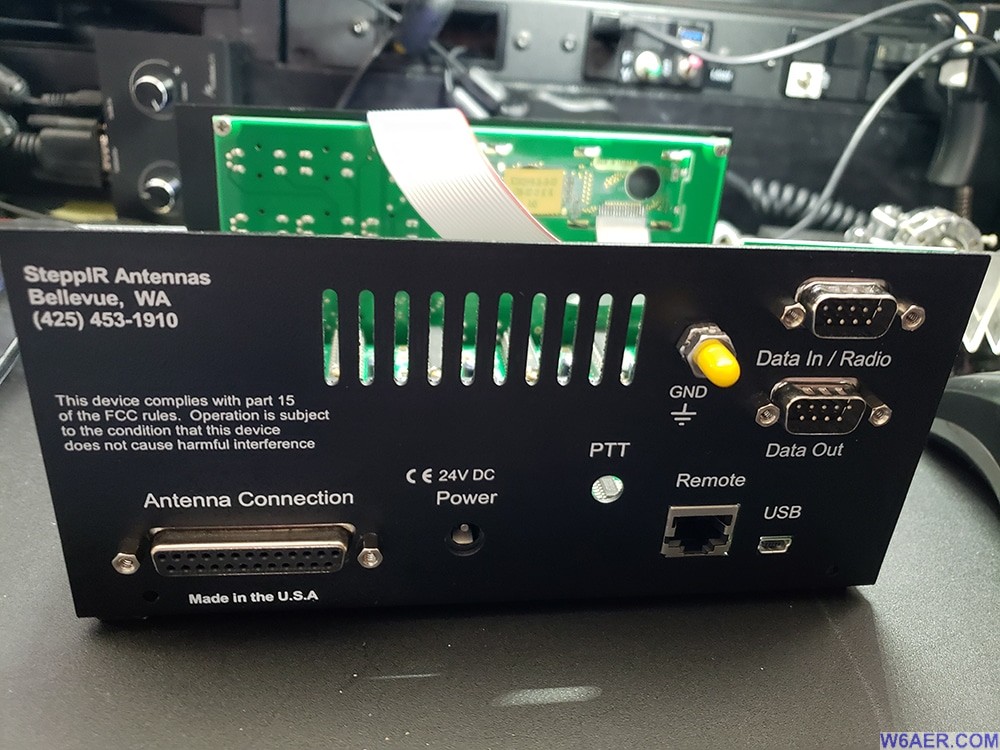
Front and Back views for those considering it. Note the 25 pin and the 2x9 pin connectors in the back. I do recommend using aftermarket connectors below.
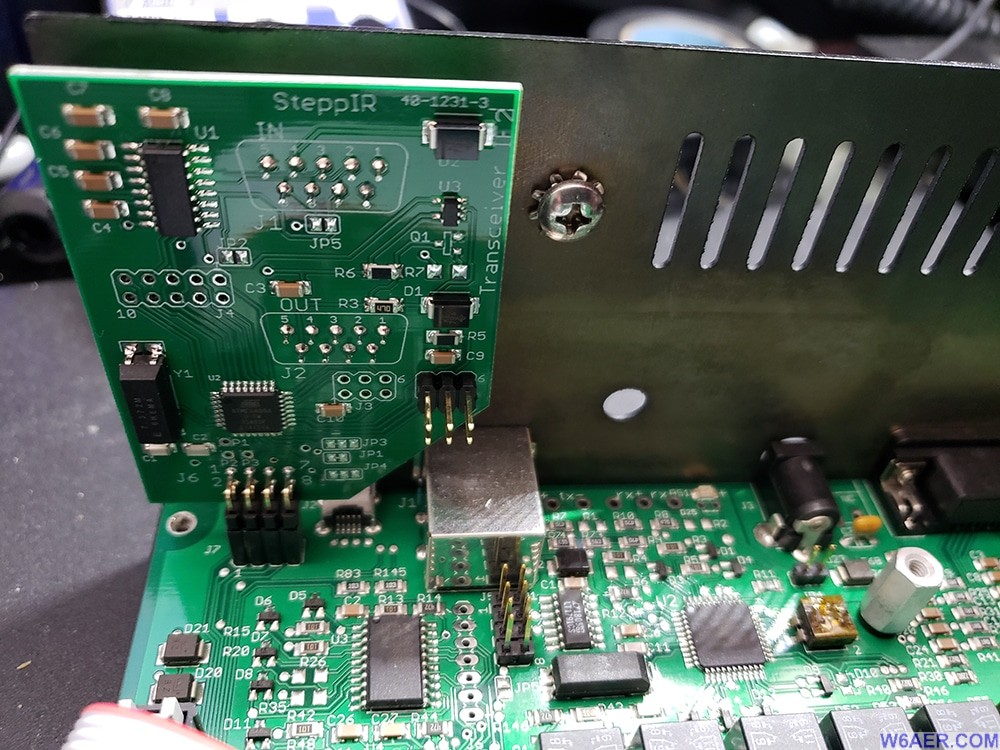
Below is the inside view of the option board.
The inside front view for those curious below.
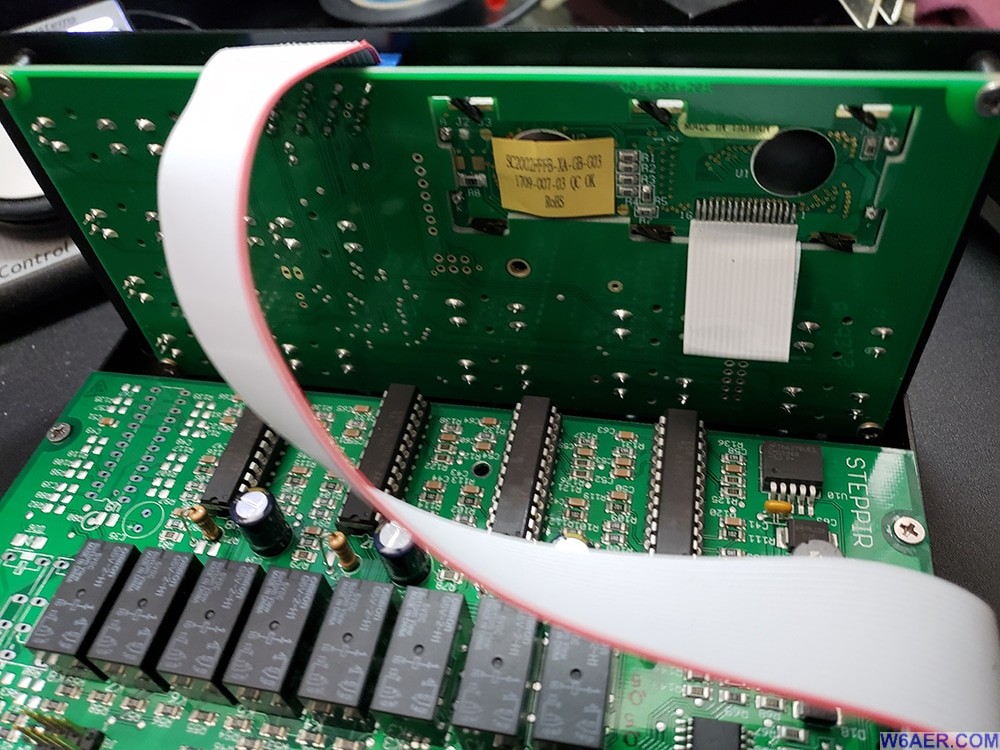
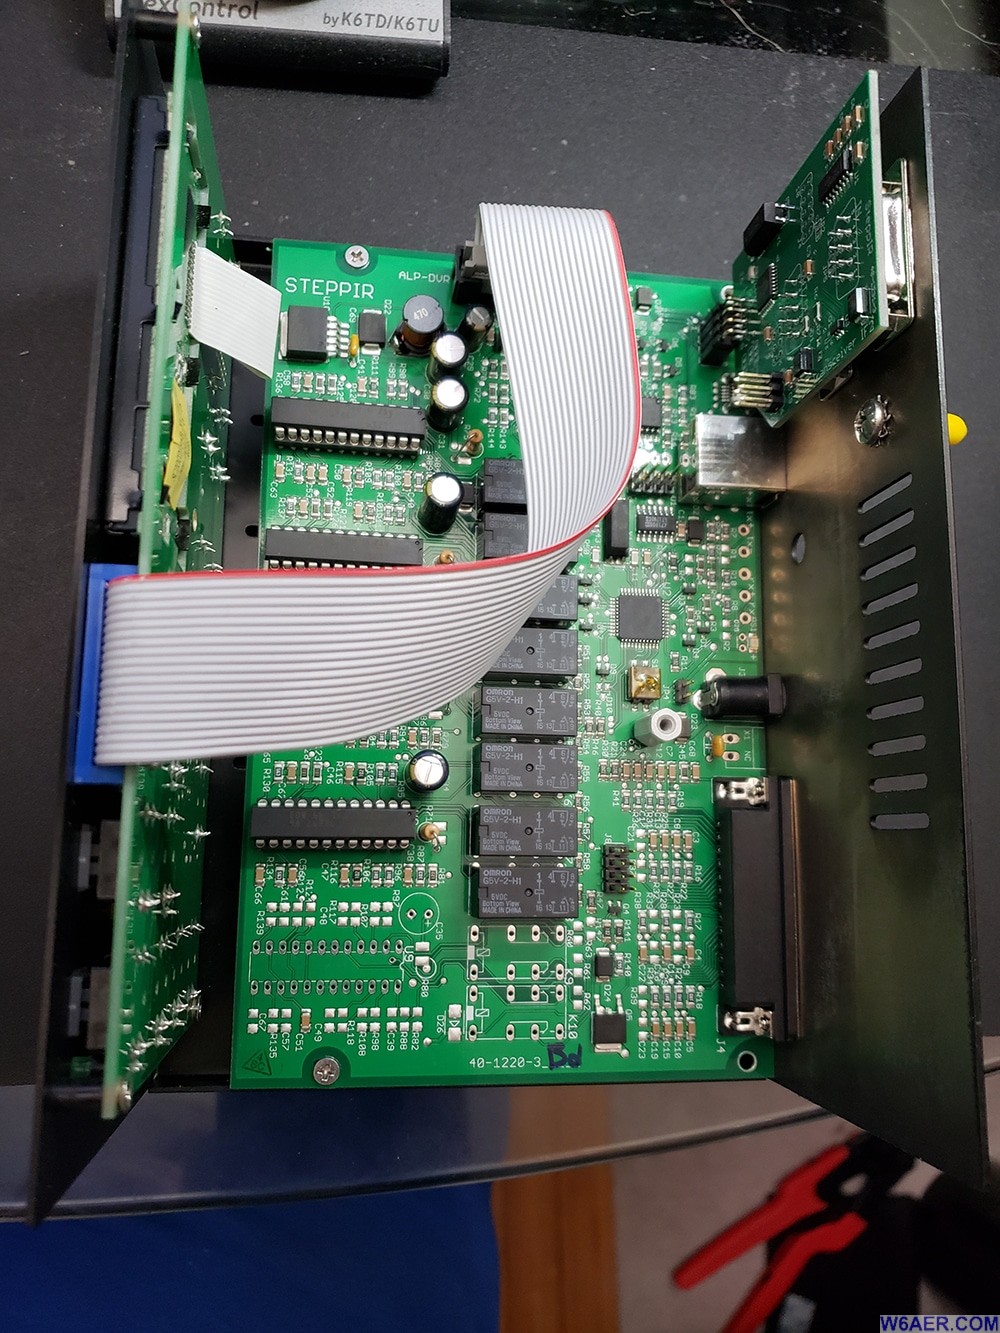
Overhead view of the controller unit.
Overall very good construction quality and no issues so far with it. I hope you enjoyed the photo tour.
If you find something incorrect, have an update, or if there is something you would like to see added to the site, drop me a line here. I like to keep things as up-to-date and as accurate as possible. Thank you! - Lucas / W6AER

